DIY: Printed T-Shirt Using Jet-Pro Sofstretch Light Transfer! (Everything-You-Need-To-Know and stuff about JetPro SS)
Another Do It Yourself post! :)
 |
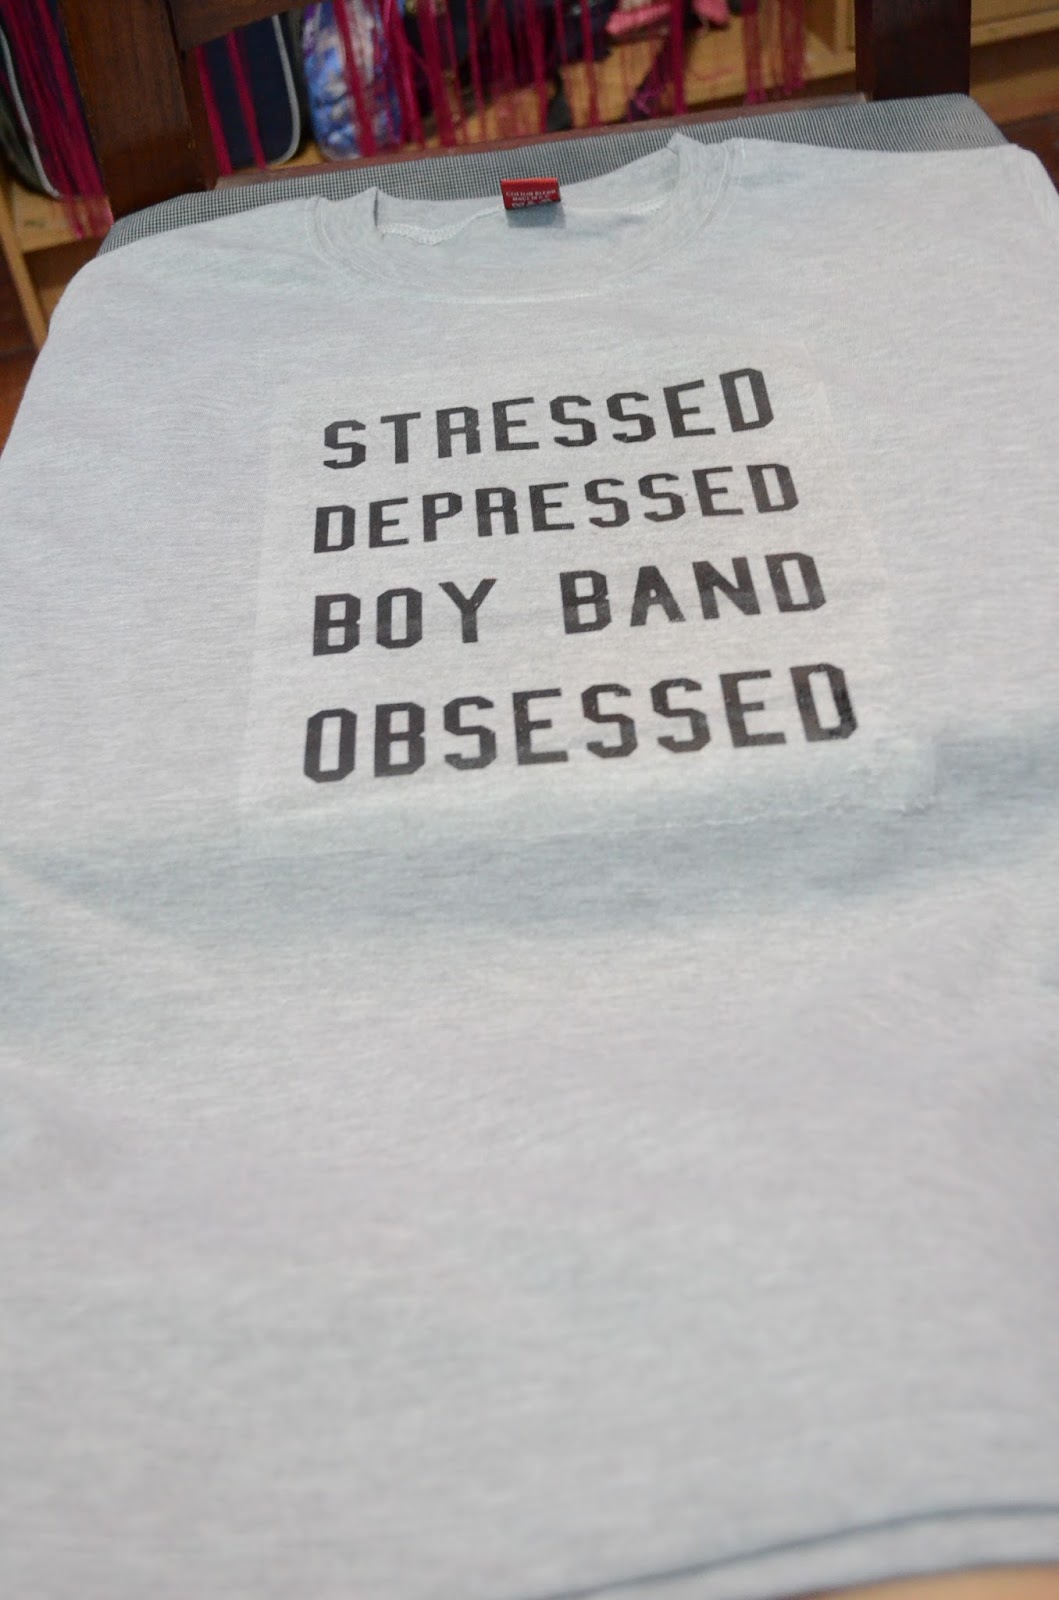
| Stressed, Depressed, Boy Band Obsessed T-shirt by meeeee! |
I've been kind of occupied/stressed with school going on and I'm trying to keep up with my exercising 5 days a week and sometimes I want to write a blog post, but I kind of lack the uber motivation. But now, I have an extended weekend! Yay! So here goes...
Well first off, I stumbled upon this video on Youtube. She made printed tees (which were really cute btw) by herself with no fancy equipment and all that! I was really encouraged since I wanted to print tees on my own because I saw all these cool designs on tumblr and instagram.
This was the first video I watched where I first discovered Heat Transfer Paper or Iron-on Transfer Paper. I don't know why I discovered this up until now! But it was a pretty cool discovery! So like the maniac searcher that I am, I searched all over the internet as to where I can buy Heat Transfer Paper here in the Philippines. I searched in www.olx.com.ph heat transfer paper, turns out it's kind of affordable! Here's the shop that I bought the JetProSS from.
ORANGEPRINTHAUS In Recto Manila. Just click the link and this is their ad!
As of now, I have tried 3 different prints on different shirts using the JetProSS and it takes some practice (I think) or some really good tips before you iron on that print!!! Because I kinda failed the first time but somehow I'm slowly getting "there" with using the Light Transfer Paper! (Next time I'll try the dark transfer heehee)
 |
| Luke Hemming's Girlfriend Shirt for my cousin! |
I watched tons and tons of tutorial and reviews on youtube before I actually tried it and there are some tips that I did but somehow it didn't work for me, so I'm stating in this blog post some tips that I learned by myself!!!
1. Get ready with all your equipment! You don't need fancy equipment for this one like a heat press or something! (Awesome right? Your own prints on your shirts. AHH) Just an iron, a board or somewhere to iron on, a plain shirt and the heat transfer paper of course. I used the Light Transfer because the shirt is light colored, duh?
 |
| For my ironing board, I just used a wooden chair and covered it with a cotton blanket! |
(I bought my plain ones in a shirt factory outlet near my house, they sell really cheap but quality yalex shirts) I got a white shirt for only 67 pesos and this gray shirt for 82 pesos! They sell in bulk too. :)
But more importantly! In using Light Transfer Paper, you must mirror the image you print on your transfer paper because you turn it downside down? Haha! Just that. And if you're wondering about the printer, I just used a normal Inkjet printer for the paper (no fancy printer too!). I got my designs from Tumblr, Instagram and some shops and photoshopped it for good quality for my shirts! Haha!
2. Make sure your Iron is hot and ready! The suggested heat of the iron is 200 degrees and we discovered that the paper withstand the cotton cloth temperature. But you can go all the way and set it into really high heat for it to stick really good!
Another tip, cover all the areas by pressing your iron without moving part by part for 15-20 seconds. Don't move it around or stuff, just stay it in place. Then cover another area and so on. After you think you've covered it all, just roam around iron to make sure it sticks really good for about a 30 seconds to a minute.
3. Peeling time! Here's the very tricky part! :) Don't leave it on for too long, I read or watched somewhere that after you ironed the print on, don't leave it on for very long. About less than 30 seconds, when you can actually touch the paper without hurting yourself.
Another tip!!! When peeling, NEVER EVER HESITATE! When you peel one end, just keep on peeling really fast and gentle, because it will turn out badly if you don't do it full on! Just like what happened with my first try. The film won't stick to the shirt well enough.
Also, give a buffer to the print, some margins or space before the part with the print and stuff. The film's quite invisible but you can somehow still see it.
4. After peeling, turn the shirt over backwards to print on the backside of the print for it to stick real good!
....and ta-da!!
You have your own printed tee! <3
I wanted to make this a muscle tee, but I'm not so sure right now. It's rainy season and maybe not the time for sleeveless shirts. :) Okay, I tried to keep my post concise, but heck no.
There you have it! My tips and my do-it-yourself shirt! :)
If you want to try JetProSS paper, it's really good and just be careful with peeling and the film's not so invisible. But it's okay for starters. It's great if you want your design up on your own shirt! :)
I hoped you learned from this. If this post has helped you, goodluck! X <3


0 comments